
Camper Makeover
This past weekend we took our 1985 Vanguard motorhome, aka, "Papa Vito" out for the very first time. It might seem odd to some people to go from living in the country with wide open spaces and peace and quiet to then go camping out in nature with similar surroundings to home. For us though it is the slowing down and just enjoying the simple things.....waking up to the water moving slowly across the lake, the warm summer breeze, the sound of the squirrels and birds and enjoying that early morning coffee while taking this all in. Some of my best memories involve camping with family and friends.

We were gifted this camper by my husbands Papa and I was so excited to get my hands on it and update it a little. Let me show you some before and after pictures and what I exactly did to make this our home away from home.


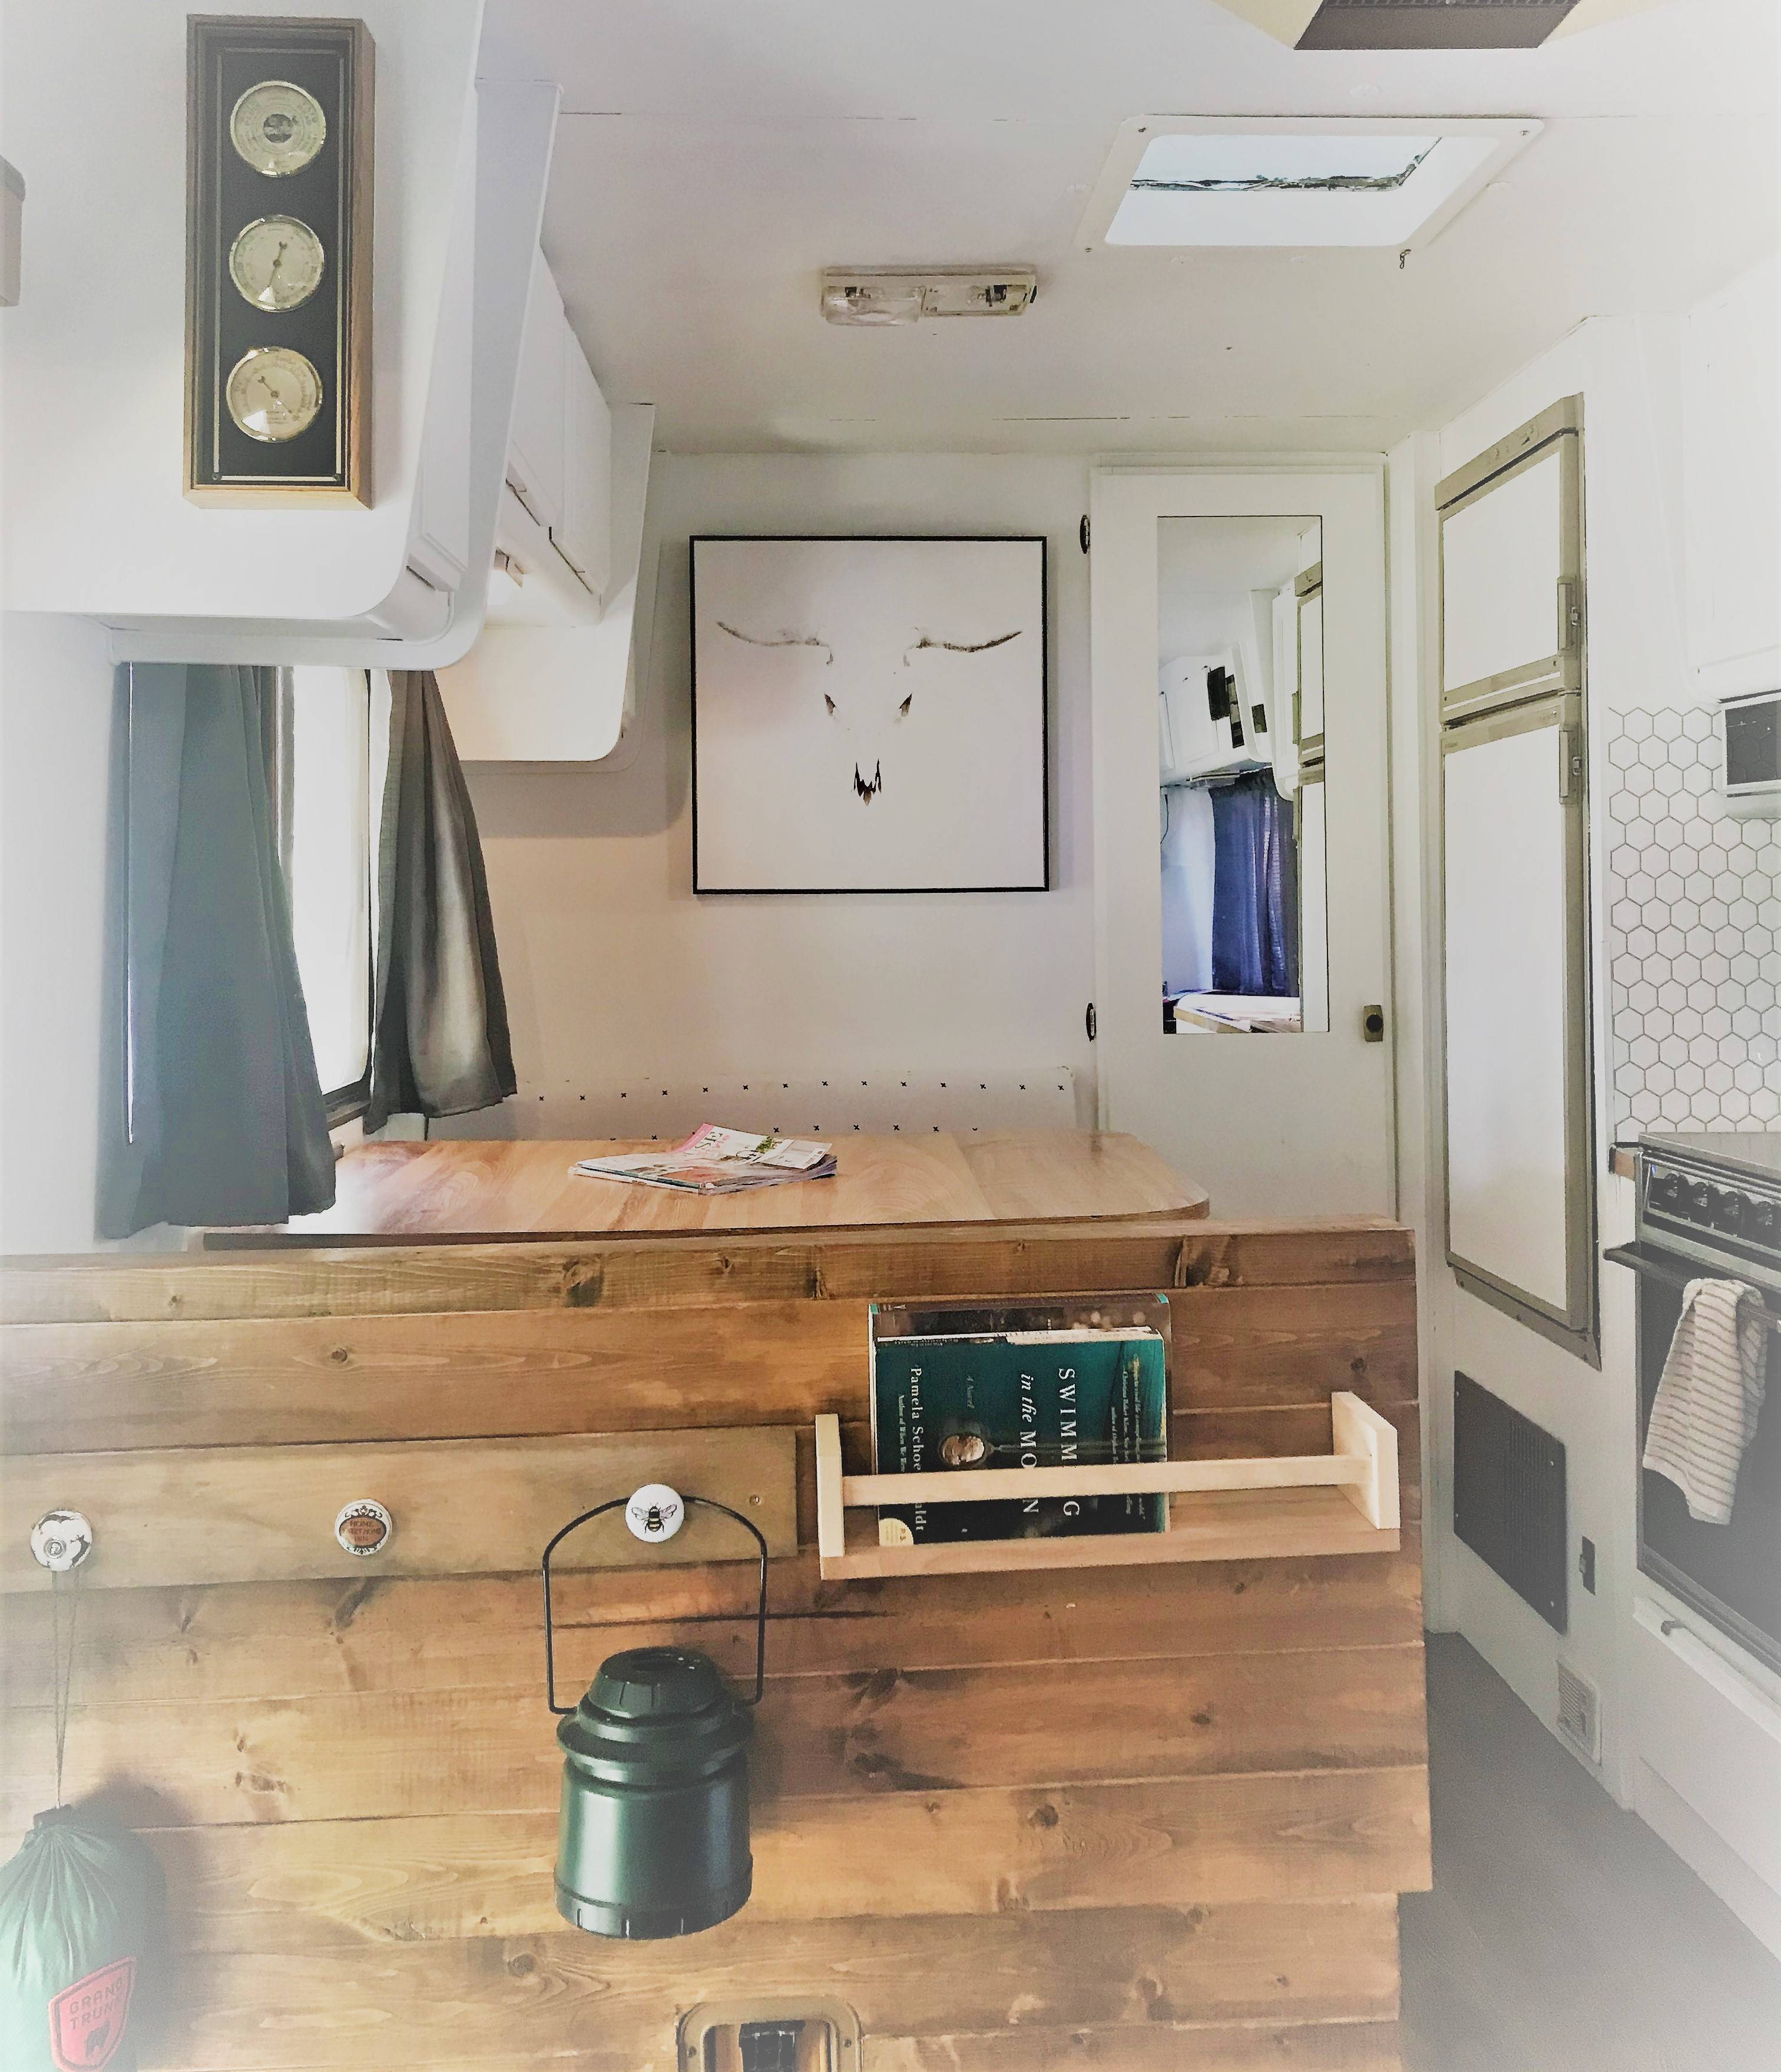
I started by taking out the two side chairs and table in the living room area to make more room as they were quite bulky. When I did this I realized that under the table it was wet and the floor and wall in that spot were quite rotten and damaged. My dad came to the rescue and helped me with this part in replacing the wood that was rotten with new ones. He also helped me install the new vinyl plank flooring after we removed the carpet from the living room area. This was quite easy to install. We just had to make sure the linoleum underneath was well cleaned and dry. Then we applied the adhesive to sections and allowed it to get tacky, about 30 minutes. Then we laid down the planks.


Next I installed the backsplash which I ordered from Amazon. They came in a pack of 10 and were 10"x10" sheets in a white hexagon pattern with light grey grout. These were so easy to use and line up. I was able to make any necessary cuts with an exacto knife. After these were installed I started to paint the cupboards white to brighten the place up. I used three coats of Delux Diamond interior acrylic paint in the color White on White. This is very durable paint and went on really well using thin coats and allowing it to properly dry between coats. This was quite a big job as all the doors had to be taken off as well as the hardware but it was well worth it as it changed the feel of the camper entirely. I decided to paint the countertop in the kitchen and bathroom using a melamine paint in light grey color after I realized I could not work with the original salmon pink color, although I tried.


Next I put up a black and white design wallpaper in the bathroom on the back wall. This too was purchased from Amazon and you can find it here. It is sticky contact wallpaper and extremely easy to use. If you need to adjust it you can just peel it off and reapply. This really made a big impact and can be seen from the rest of the camper. I really love the look of it and it was an inexpensive way to make a statement and focal point.


I also installed thin pine tongue and grove boards to the living room section ceiling as this was higher than the rest of the ceiling and I thought that it would not only add some dimension and texture but separate the spaces visually.

Lastly I put up small black curtain rods and bought grey curtains which I cut and hemmed. I only had to buy 3 packs of curtains that came with 2 panels each. These were long so I was able to cut them and use the cut parts for the other windows. Since the bottoms that I cut off already had a hem I just opened the ends up and used this pocket for the rod and then I sewed a simple hem on the bottom of the panel. The cushions in the dinette were in good shape so I just recovered them with grey fabric on the bottom and black and white fabric for the backs.

There were a few other things that I did that were not decorative or aesthetic but very important. I scrubbed and cleaned the exterior of the camper and took off all the old sealant around the windows and vents and put new sealant to ensure that it wouldn't leak.


I hope you all enjoyed this camper makeover. I really do believe that if you have determination and work hard you can makeover anything into something you will love and treasure. This camper is an example of what a little elbow grease and a small budget can get you. Overall this camper makeover cost approximately $700. We are so grateful for it and can not wait to make many more memories with family and friends for years to come.

Kelly and her husband are raising two teenage boys and a toddler girl on an old 200 acre farmstead. They value providing food from the land for their family, such as venison, goose, duck, fish and their garden harvest. They own their own business and try to teach their children the value of hard work.


